Git
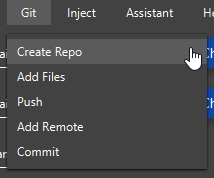
Git is often essential to creating programs, so MS Paint IDE has some basic build-in features to get a project’s git integration running in seconds. The git options can be found both in the top menu bar under *Git > ** and under the language specific settings on the left of the main IDE window. All the settings and buttons in the following section will be from the second screenshot below, though the menu bar can do most things.
Using Git
The basic steps for getting a project working with git are in a loose order below.
Creating The Repo
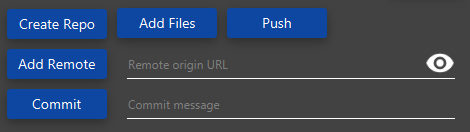
The first step is creating an actual local git repo. This can be done simply by the Create Repo button.
Adding The Files
Adding the files is the next step, and should be done when you create new files. This is just done by the Add Files, and then a prompt will come up asking for the files to be added.
Adding A Remote
If the project needs to be accessed on a remote Git server, such as GitHub, a remote origin needs to be added. This must include an authentication token (This is locally stored, as it everything) and may be hidden by the eye icon on the right of the text box labeled Remote origin URL. By default this is visible. An example of a remote origin for the user “John” on the repo “PaintProject” with an authentication token (In GitHub this is generated in the Personal Access Tokens setting page) of “1234567890” would be the following:
https://John:[email protected]/John/PaintProject.git
After putting in the remote origin to the text box, click the button Add Remote.
Committing
After code has been modified, a commit message may be put in the Commit Message text box, and after the Commit button is clicked, a local commit may be made.
Pushing
Pushing may be done after committing, and by just clicking the Push button. A remote origin URL must be defined for this to do anything.